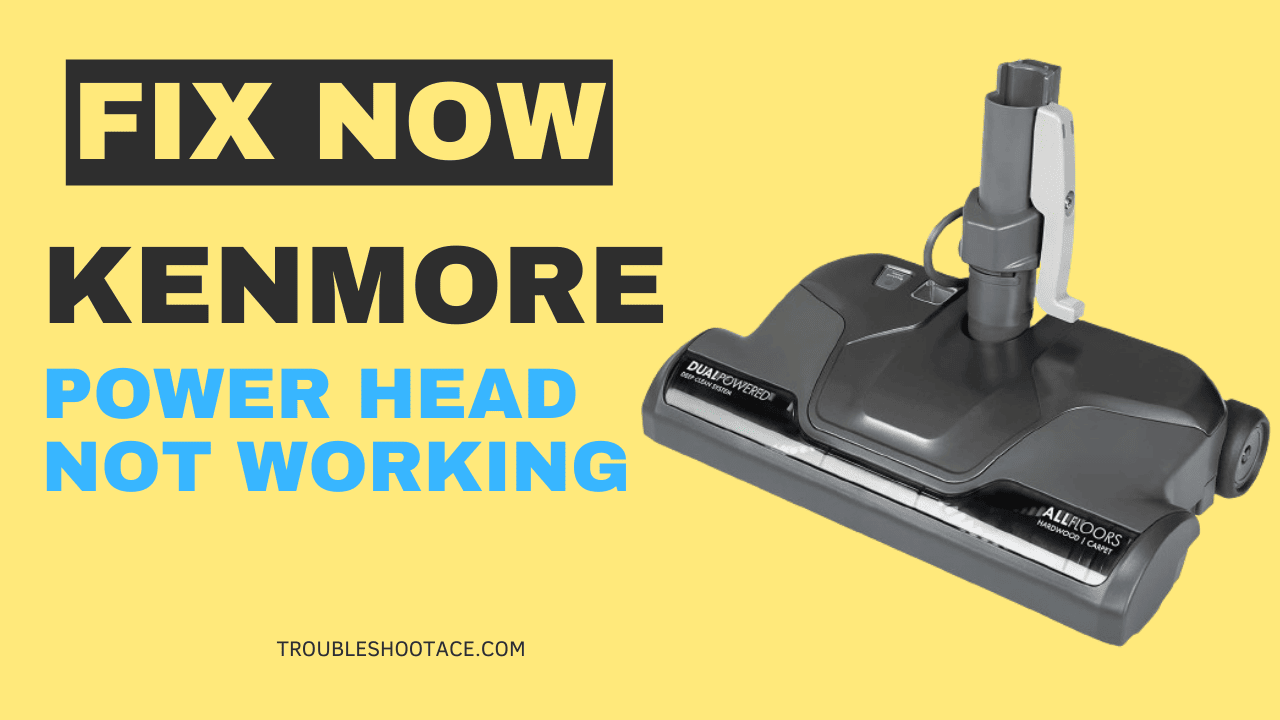
In the realm of household cleaning appliances, the Kenmore Progressive Vacuum is a reliable companion in our ongoing battle against dust and debris. The often-overlooked hero – the power head- is at the heart of its efficiency. However, many users are in a frustrating predicament when this integral component ceases to function as expected. If you’ve ever experienced the exasperation of a Kenmore Progressive Vacuum Power Head not working, you’re not alone.
Common Issues Leading to Kenmore Progressive Vacuum Power Head not working
Table of Contents
ToggleA. Brush Roll Not Spinning
Causes and Implications
- Belt wear or breakage: Over time, the belt that drives the brush roll can wear out or break, inhibiting its rotation.
- Obstructions or debris: Accumulated dirt, hair, or foreign objects can impede the brush roll’s movement.
- Motor malfunction: A malfunctioning motor may fail to drive the brush roll, causing it to remain stationary.
- Implications: A non-spinning brush roll reduces the vacuum’s ability to lift dirt and debris from surfaces, diminishing overall cleaning effectiveness.
Impact on Cleaning Efficiency
- Incomplete dirt pickup: Without the rotating brush roll, the vacuum may struggle to effectively lift and collect dirt and debris from carpets and floors.
- Reduced carpet grooming: A stationary brush roll fails to groom and lift carpet fibers, impacting the overall appearance of your flooring.
- Increased wear on other components: The absence of the brush roll’s action can lead to heightened strain on other parts of the vacuum, potentially causing further damage over time.
B. Power Loss or Intermittent Power
Possible Reasons Behind Power Issues
- Faulty power cord or plug: Damaged cords or plugs can disrupt the power supply to the vacuum, leading to intermittent power loss.
- Overheating: Excessive heat build-up within the power head can trigger automatic shut-offs or intermittent power issues.
- Electrical connection problems: Loose or damaged electrical connections may result in inconsistent power delivery to the power head.
- Faulty switch: A malfunctioning power switch can cause the vacuum to lose power intermittently.
Effects on Overall Vacuum Performance
- Incomplete cleaning cycles: Power loss disrupts the vacuum’s ability to complete cleaning cycles, leaving areas untreated.
- Frustration and inconvenience: Intermittent power issues can lead to frustration during cleaning sessions, reducing the overall user experience.
- Potential damage to the motor: Repeated power interruptions may strain the vacuum’s motor, potentially causing long-term damage.
C. Strange Noises or Unusual Vibrations
Identifying the Source of the Problem
- Foreign objects in the brush roll: Debris or objects lodged in the roll can cause unusual noises and vibrations.
- Worn or damaged bearings: Over time, the bearings that support the brush roll may wear out, resulting in noise and vibration.
- Misaligned components: Poor alignment of internal components can lead to friction, causing strange sounds and vibrations.
Potential Consequences of Left Unresolved
- Further damage: Ignoring strange noises or vibrations can exacerbate existing issues, potentially causing damage to other components.
- Reduced motor efficiency: Persistent vibrations may strain the motor, affecting its performance and longevity.
- Disruption of household peace: Unusual noises can be disruptive, affecting the overall household environment and comfort.
Also Read: Dirt Devil vacuum suddenly stopped working
Step-by-Step Troubleshooting Guide
When faced with a Kenmore Progressive Vacuum Power Head not working, a systematic approach to troubleshooting can be the key to identifying and rectifying the issues. Follow this step-by-step guide to regain control over your vacuum’s performance.

A. Initial Inspection and Diagnosis
- Checking Power Supply and Connections:
- Ensure the power head is properly connected to the vacuum.
- Confirm that the power source is functioning correctly by testing it with another device.
- Assessing Visible Damage or Blockages:
- Inspect the brush roll for any entangled debris or obstruction.
- Examine the power head’s exterior for visible damage or signs of wear.
- Check for blockages in the airflow path, including hoses and filters.
B. Addressing Specific Issues
- Solutions for a Non-Spinning Brush Roll:
- Check the Belt: Open the power head and inspect the belt for wear or breakage. Replace it if necessary.
- Clean the Brush Roll: Remove any accumulated debris from the brush roll, allowing it to spin freely.
- Adjust the Height Setting: Ensure the power head is set at the correct height for the type of flooring you’re cleaning.
- Resolving Power Loss or Intermittent Power:
- Inspect Electrical Connections: Examine all electrical connections for loose or disconnected components. Reconnect any disconnected parts.
- Check for Overheating: Allow the power head to cool if it has been in use for an extended period, as overheating can lead to power loss.
- Dealing with Unusual Noises or Vibrations:
- Identify the Source of the Problem: Investigate the power head while it’s running to pinpoint the origin of any unusual noises or vibrations.
- Tighten Loose Parts: If any screws or components are loose, tighten them to eliminate vibrations.
- Inspect the Motor: Examine the motor for signs of damage or malfunction. If necessary, seek professional assistance for motor-related issues.
C. Tips for Regular Maintenance to Prevent Future Problems
- Clean Regularly: Develop a routine for cleaning the power head, removing debris from the brush roll, and checking for blockages.
- Replace Consumable Parts: Periodically replace belts, filters, and other consumable parts to ensure optimal performance.
- Follow Manufacturer Guidelines: Adhere to the manufacturer’s guidelines for maintenance and usage to extend the lifespan of your Kenmore Progressive Vacuum Power Head.
By following these steps and incorporating regular maintenance into your cleaning routine, you’ll be well-equipped to tackle power head issues head-on and enjoy a consistently efficient vacuuming experience.
DIY Repairs for Kenmore Progressive Vacuum Power Head
When your Kenmore Progressive Vacuum Power Head starts acting up, don’t rush to call for professional help just yet. Many common issues can be addressed with a bit of DIY magic. Here’s a simple guide to performing your repairs, saving you time and money.
Tools and Materials Needed
Before diving into the repairs, gather the following tools and materials:
- Screwdriver: Phillips and flat-head screwdrivers may be required.
- Replacement Belt: Ensure it is compatible with your specific Kenmore model.
- Scissors or Utility Knife: For cutting and trimming as needed.
- Cleaning Brush: To remove debris and dirt from hard-to-reach areas.
- Replacement Parts: Depending on the issue, have replacement parts like belts or brush rolls on hand.
Step-by-Step Instructions for Common Repairs
- Replacing a Worn-Out Belt:
- Step 1: Unplug the vacuum to ensure safety.
- Step 2: Locate the screws securing the power head cover and remove them.
- Step 3: Lift off the cover to access the brush roll and belt.
- Step 4: Remove the old, worn-out belt and replace it with a new one.
- Step 5: Ensure the belt is correctly positioned on the motor shaft and the brush roll.
- Step 6: Reattach the cover, securing it with the screws.
- Cleaning or Replacing the Brush Roll:
- Step 1: Remove the power head cover following the steps outlined above.
- Step 2: Gently pull out the brush roll from its housing.
- Step 3: Use a cleaning brush or scissors to remove any hair, debris, or thread wrapped around the brush roll.
- Step 4: If the brush roll is excessively worn or damaged, replace it with a new one.
- Step 5: Reinsert the cleaned or new brush roll into its housing.
- Step 6: Secure the power head cover back in place.
- Checking and Repairing Electrical Connections:
- Step 1: Unplug the vacuum to ensure safety.
- Step 2: Examine all electrical connections for looseness or disconnection.
- Step 3: Reconnect any loose wires, ensuring a snug fit.
- Step 4: If any wires are damaged, use a utility knife to trim the damaged portion and secure them with electrical tape.
- Step 5: Reassemble the power head cover.
By following these simple step-by-step instructions and having the right tools at your disposal, you can tackle common issues with your Kenmore Progressive Vacuum Power Head without the need for professional assistance.
Conclusion
This post is all about how to fix the <strong>Kenmore Progressive Vacuum Power Head not working. By following the above steps you can easily fix this problem. Regular maintenance and timely fixes, such as
- Replacing worn-out belts
- Cleaning or swapping out brush rolls
- Checking electrical connections
are a pivotal step in ensuring your vacuum’s prolonged functionality. Remember, a well-cared-for power head not only rejuvenates your vacuum but also revitalizes your cleaning routine. Armed with these newfound skills, you can confidently face any power head issues that may arise, ensuring a consistently powerful and efficient cleaning performance for the long haul.

